You have a brilliant idea for a new product. Now you want to turn this vision into a tangible object that delivers value to users. The key steps? Conceptualizing, prototyping through 3D printing and vacuum casting, then preparing the final injection molds.
Follow this comprehensive guide to transform your flashes of inspiration into injection molded products ready for mass production.ints, and ergonomics.
1. Conceptualizing and Sketching Out Your Vision
The crucial first step is clearly defining your product’s purpose and target market. Ask yourself thoughtful questions:
- What underlying problem does my concept address? What needs does it fulfill?
- Who are the target users? What demographic and psychographic profiles?
- How will my offering improve upon solutions that already exist? What gives it a competitive edge?
- What capabilities and features really matter to users? Prioritize must-haves over nice-to-haves.
Next, devote quality time to sketching. Grab pens and paper to convey preliminary ideas for your product’s physical form through rough 2D drawings. Focus more on overall size, moving components, user touchpoints, and ergonomic considerations rather than superficial aesthetics.
Resist the temptation to jump straight into 3D modeling software. There is no substitute for paper sketching in providing the unstructured freedom to visualize early design ideas. Treat this as an open-ended brainstorming activity, not a commitment set in stone. You will have ample time later to create polished virtual models.
2. Conduct Thorough Market and User Research
Before finalizing your preliminary sketches, validate assumptions through rigorous research:
User research is crucial for aligning designs to your target audience’s needs. Distribute surveys through social media and email lists questioning potential consumers about:
- Their frustrations with current solutions
- Most desired features and capabilities
- Assessment of competitive product strengths & weaknesses
- Reactions to your product value proposition
Also conduct 1-on-1 interview sessions and focus groups showing your sketches. Identify aspects confusing to users or misaligned with priorities.
In parallel, analyze the competitive landscape. Study existing products and industry leaders. Discern recent technology trends and developments. Look for potential white space opportunities to disrupt the status quo. Reverse engineer physical products to derive inspiration for differentiating functionality and aesthetics.
Synthesize insights from both user studies and competition to determine high-potential features and refine positioning. Use these to evolve sketches to maximize appeal and delight your core demographic. Design a user experience that solves their greatest frustrations better than alternatives.
Robust upfront research ensures you transform mere assumptions into designs grounded in empirical evidence and differentiated value.
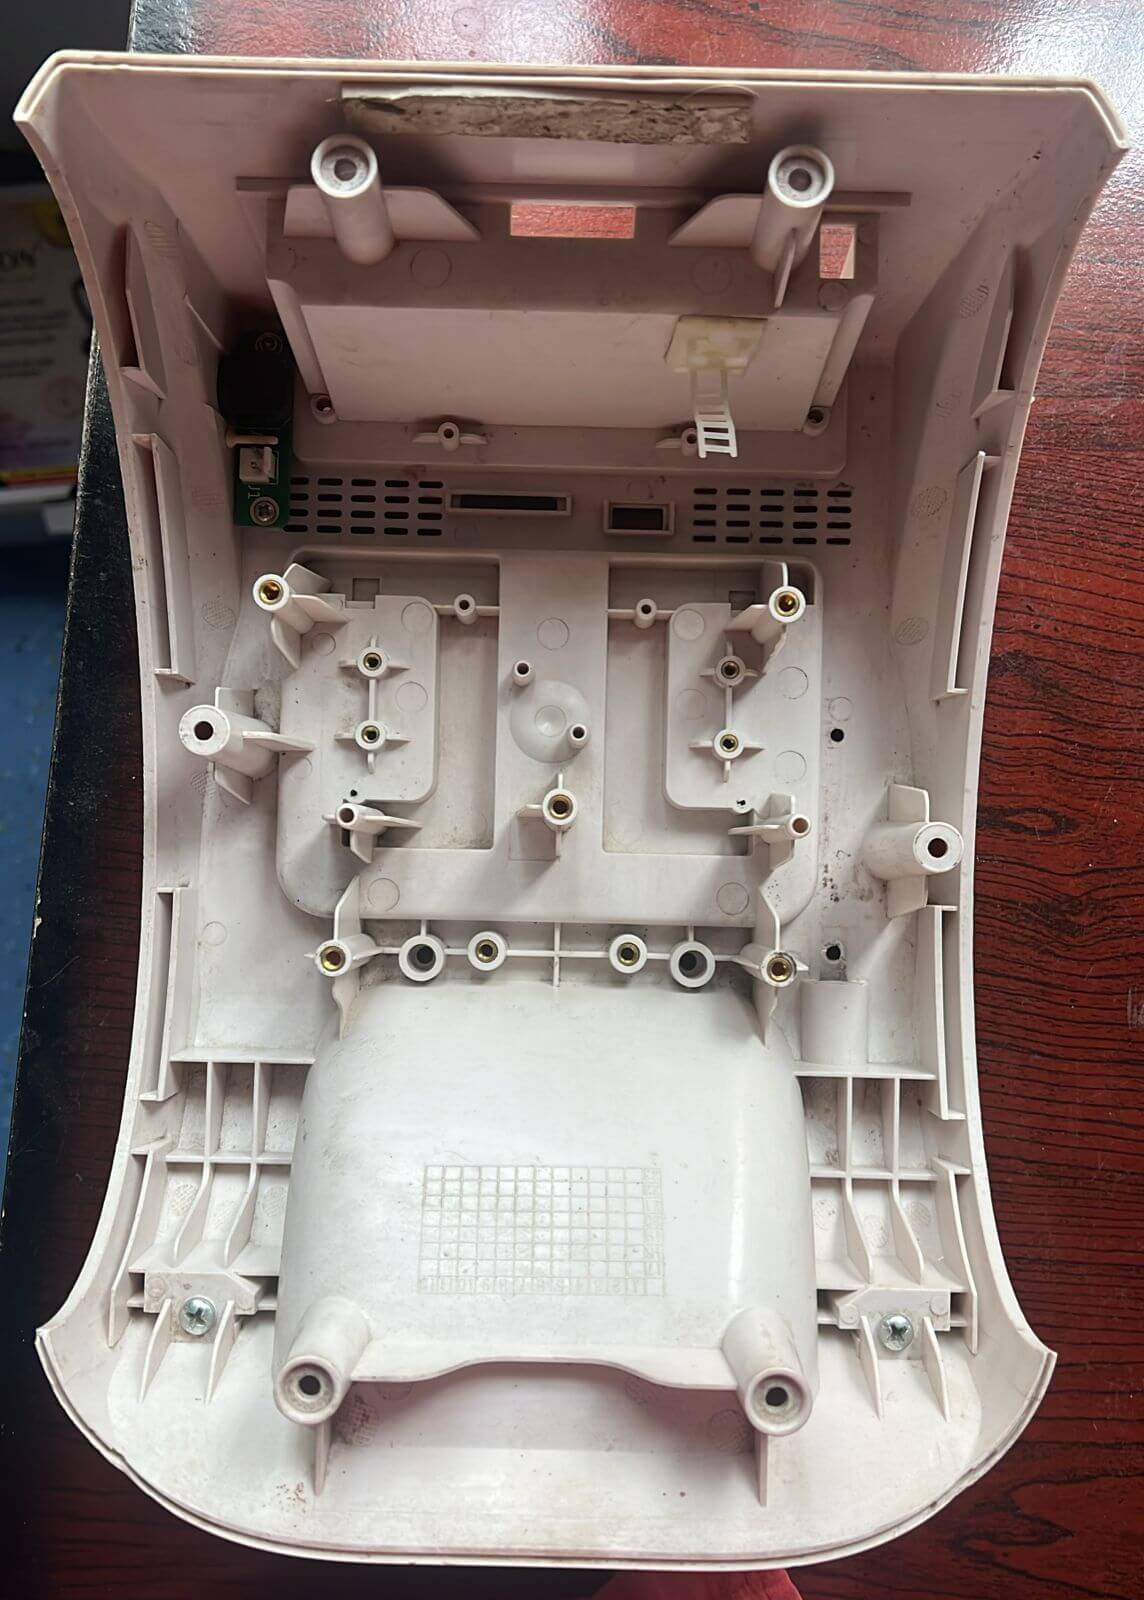
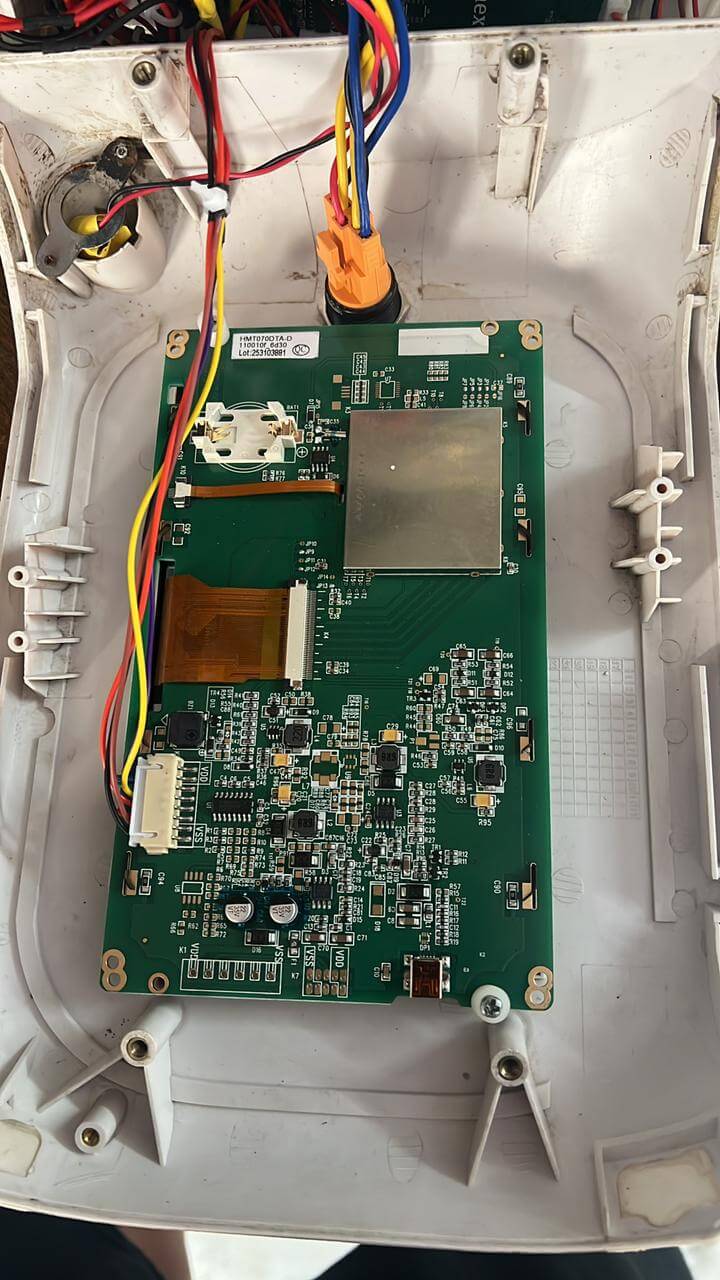
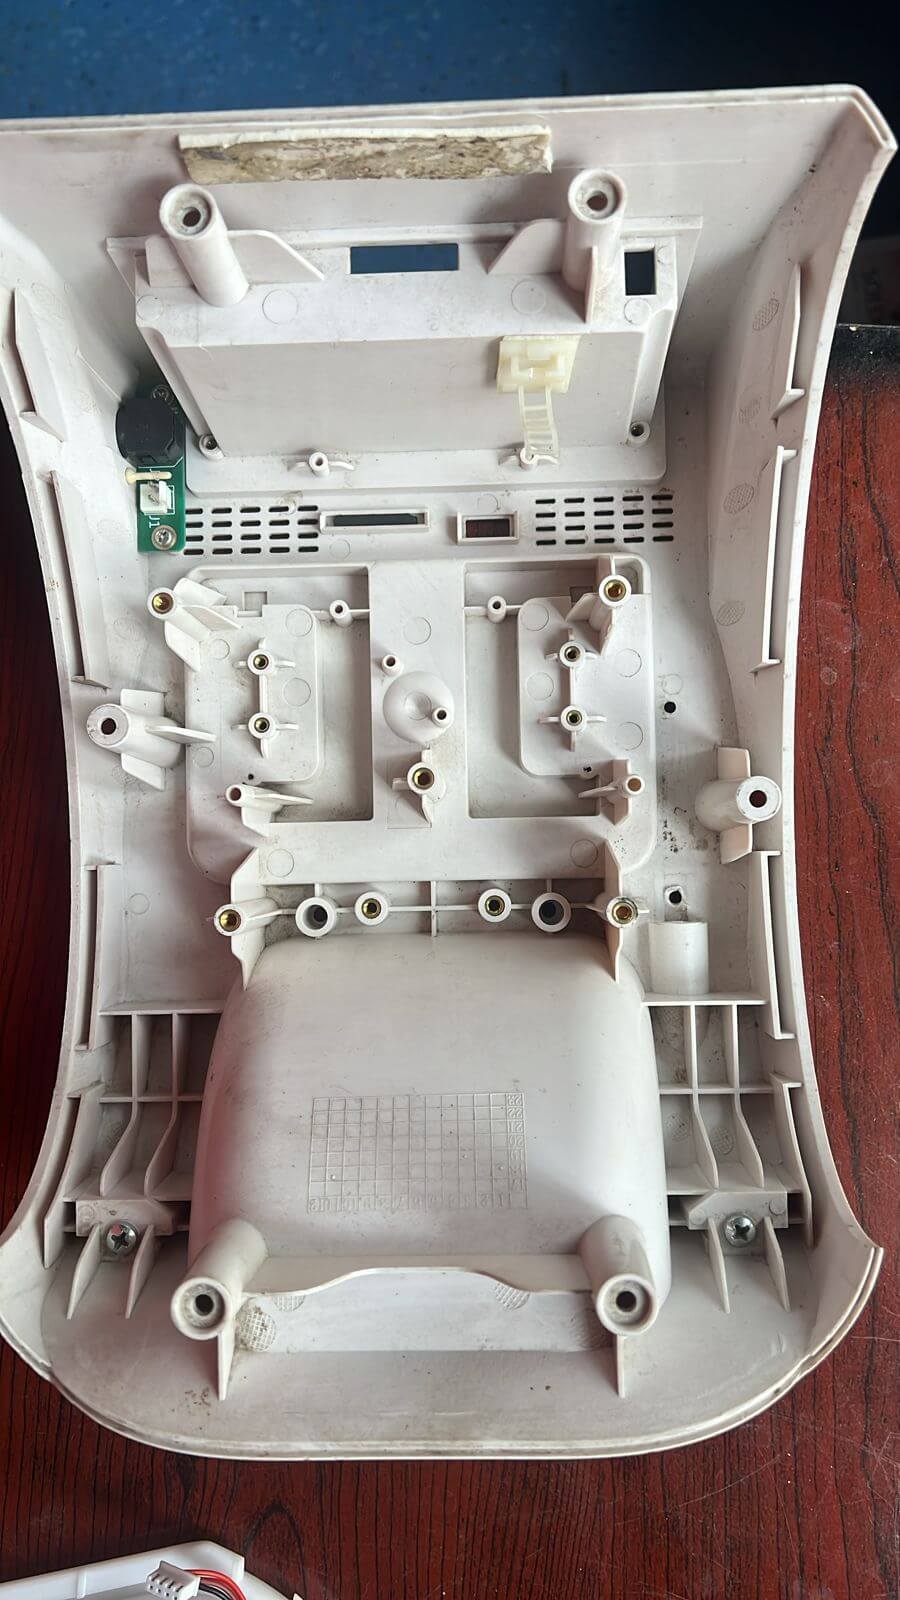
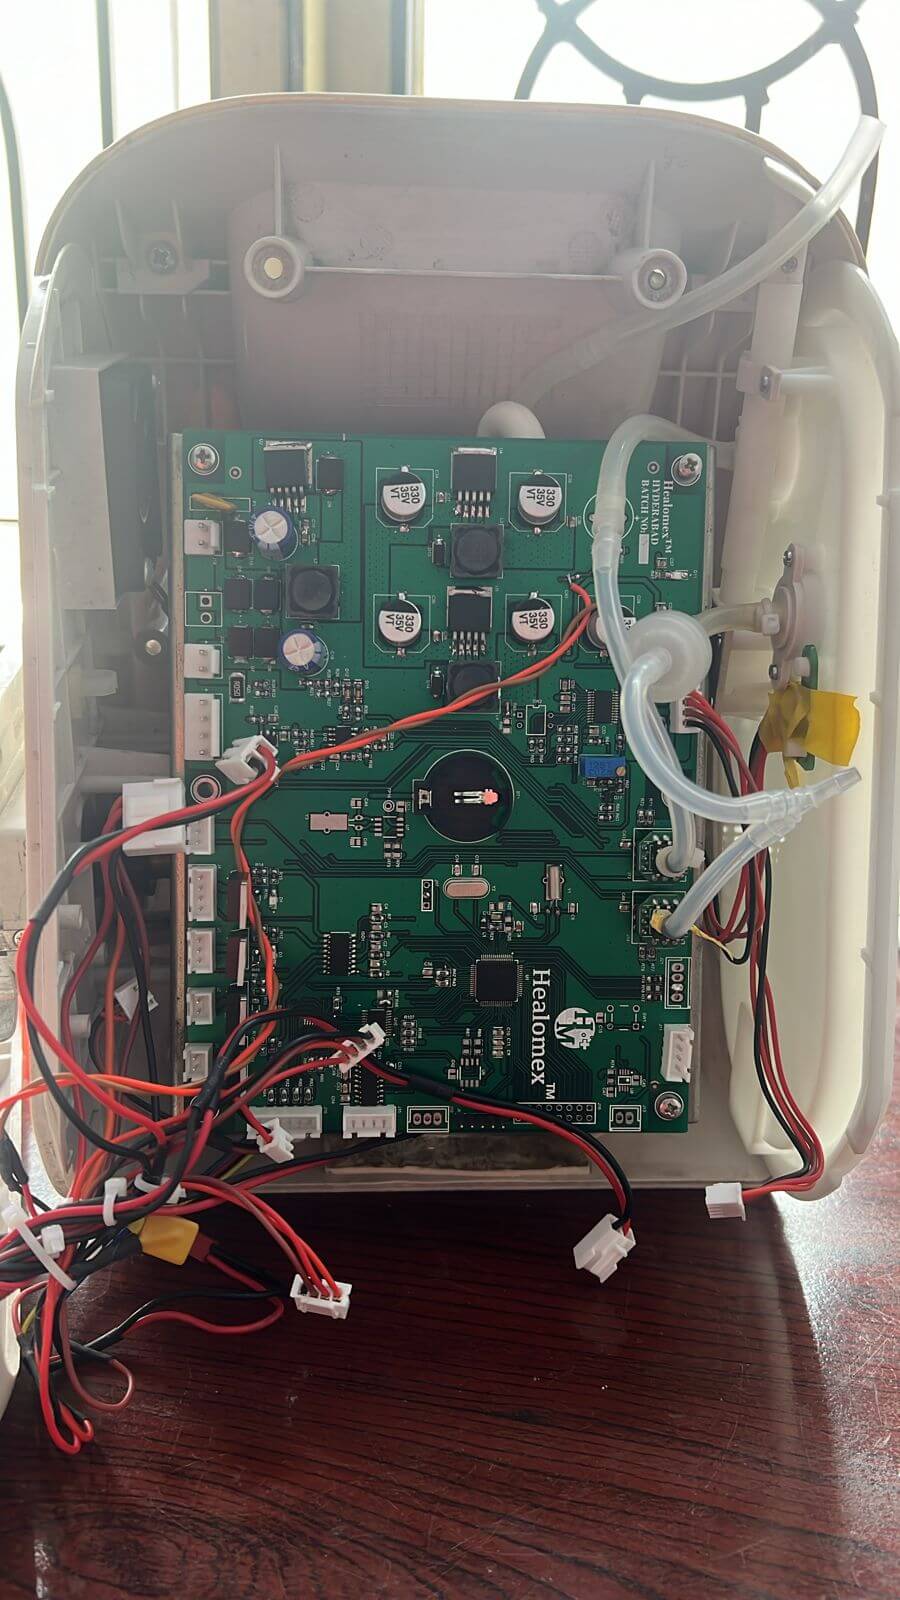

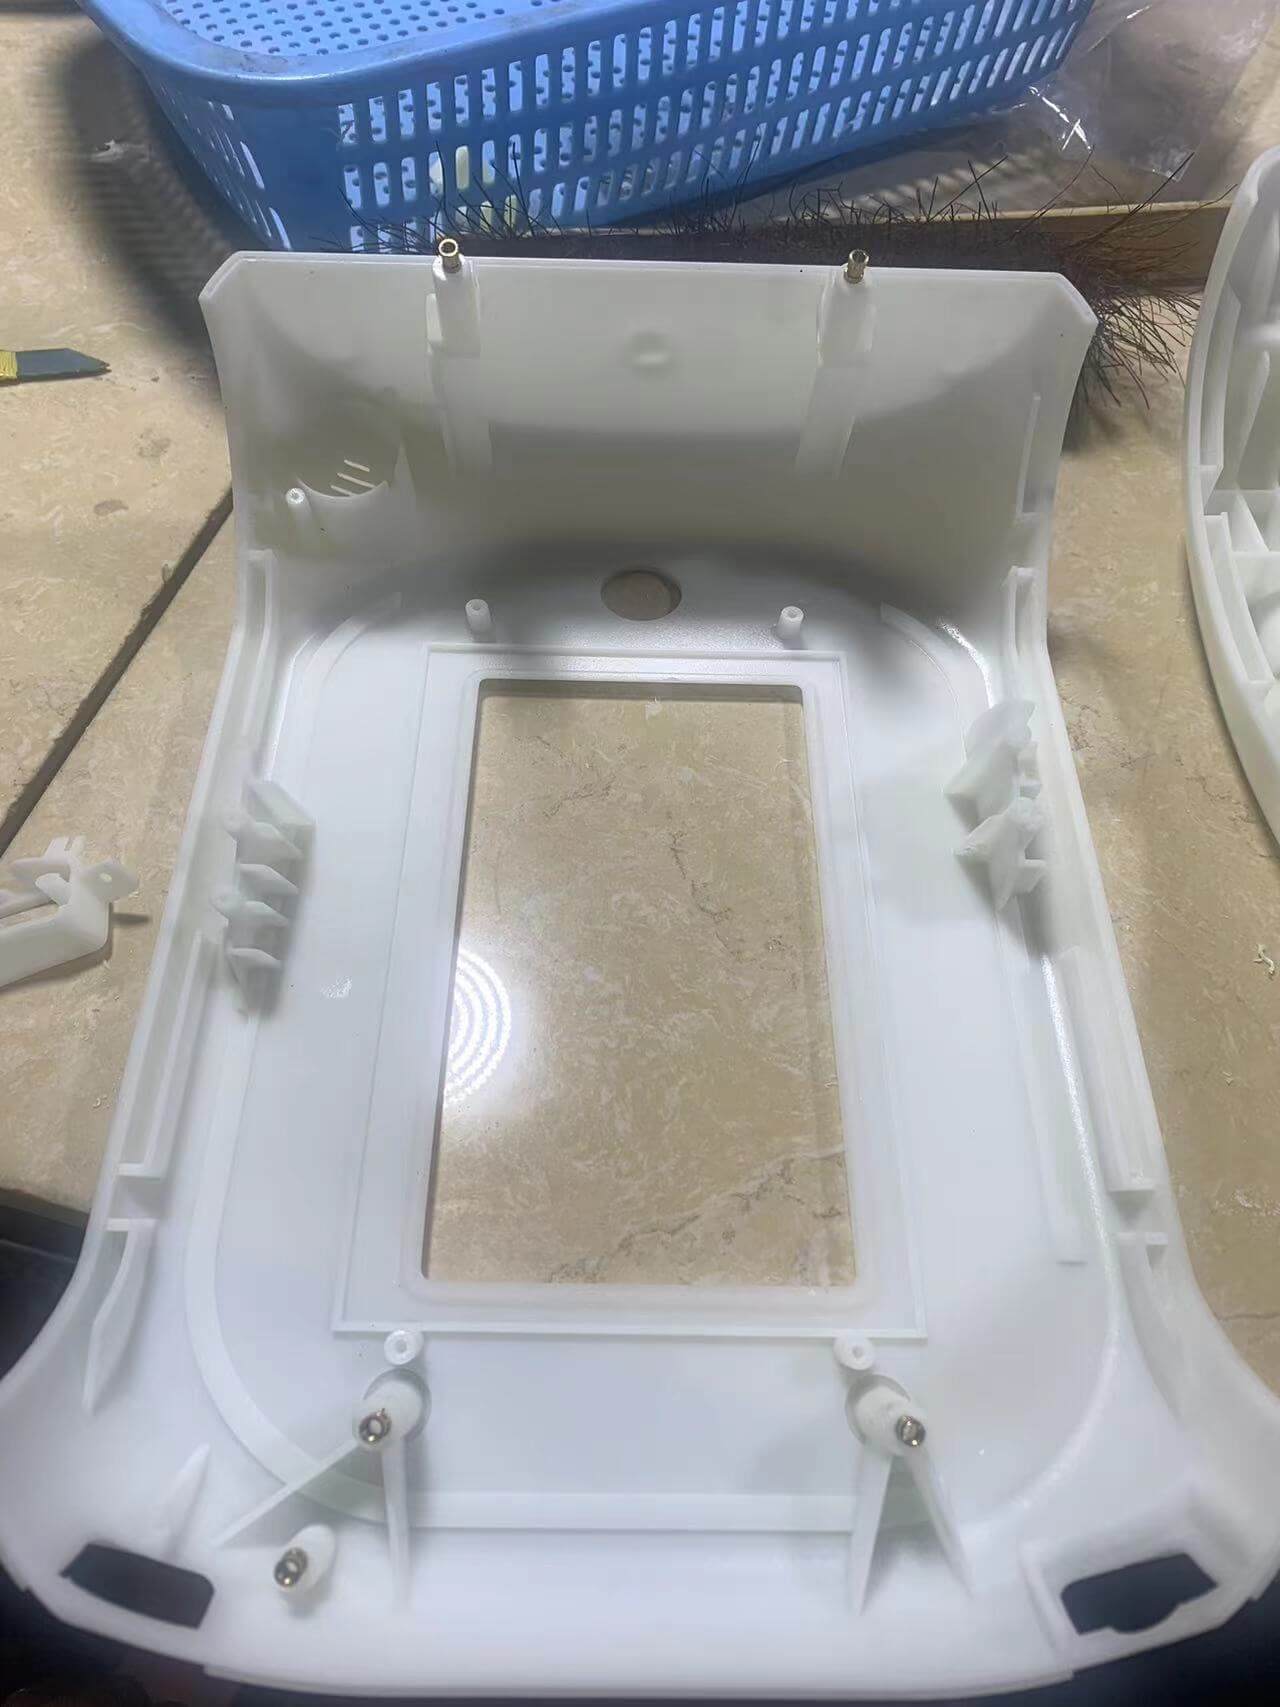
finished vacuum casting model
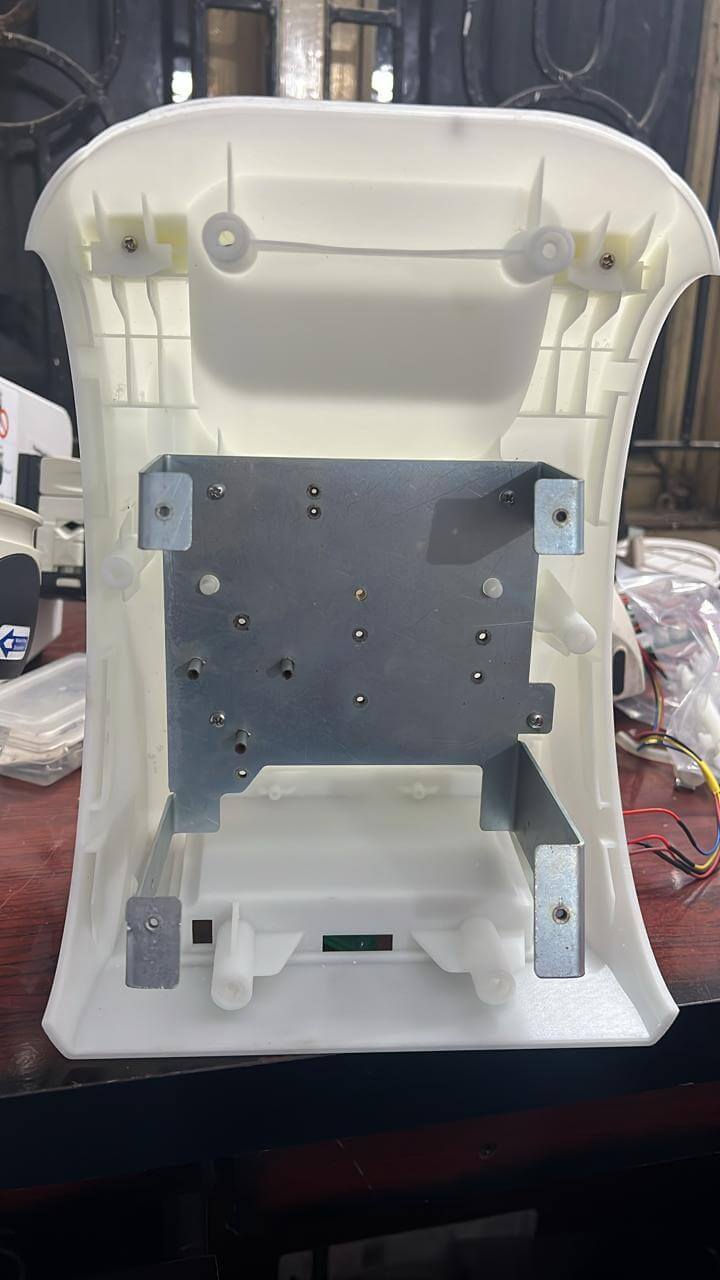
final assembly
3. Choose Beginner-Friendly 3D Modeling Software
With conceptual sketches refined, it’s time to create an accurate virtual 3D model. This brings your vision to life, reveals design flaws, and prepares files needed for prototype printing.
Fortunately, 3D modeling software options catering to beginners have proliferated. Consider SketchUp for its simplicity or Tinkercad for the browser-based convenience. Fusion 360 offers more advanced tools for free.
4. Build a Precise 3D Model of Your Product
With research insights clarifying design priorities, start constructing a detailed 3D model. Translate your hand sketches into an accurate virtual representation using 3D modeling software.
Pay special attention to:
- Overall exterior dimensions that align with ergonomic testing
- Optimal wall thickness to prevent warping while minimizing material waste
- Draft angles of exterior surfaces so parts cleanly eject from the mold
- Any intricate internal components critical to product functionality
- Major attachment points between parts, textured grip areas, or inputs
As you model, continually visualize how the geometry and surfaces will fill the physical mold tooling. Consult manufacturer design rules to ensure proper clearances around details. Model in a suitable orientation mindful of openings that must remain accessible for slides, ejector pins, etc.
While major revisions are still relatively easy digitally, substantial changes after steel molds are CNC machined can require expensive alterations and lengthen timelines. So model proactively with manufacturing processes in mind.
5. Get Expert Feedback to Refine the 3D Model
Before rushing off to 3D print that first tantalizing prototype, restraint can pay off. Take time to get feedback from mentors, colleagues, and field experts on your 3D design.
Schedule review sessions to:
- Evaluate if the overall form and specific details align with learnings from user research on ergonomics, interactions, and pain point relief.
- Verify dimensions remain optimal without unnecessary mass that wastes material.
- Explore if certain aesthetics or features can simplify the mold tooling process without compromising utility.
- Confirm all user touchpoints feel intuitive and comfortable.
Use feedback to further refine the 3D model prior to prototyping. Perfecting the virtual design first prevents inefficient repeats of trial-and-error print cycles. This optimization step also builds confidence for the prototyping stage.
If critiques require substantial modifications, conduct another round of reviews on the changes before prototyping. It pays dividends in costly downstream tooling adjustments.
6. Select a 3D Printing Technology for Prototyping
With a detailed 3D model ready, it’s time to hold your creation! Now choose a 3D printing process suitable for your prototype:
FDM printers extrude melted plastic filament layer-by-layer to build objects. Affordable and versatile for basic prototyping needs.
SLA 3D printers utilize ultraviolet lasers to cure liquid resin into solid objects with intricate details. Pricier but higher precision.
7. Print Initial Prototype and Gather Testing Data
With an optimized 3D model ready, export files to your selected 3D printer, either through a service bureau or your own machine. Wait in anticipation for the creation of your first physical instantiation!
When the prototype finishes, thoroughly examine it before showing others:
- Do walls and protrusions seem sturdy without evident fractures? Stress test connection points.
- For multi-part assemblies, do pieces slide and fasten together smoothly with no unwelcome wobble?
- Do buttons and surfaces with grip requirements provide sufficient tactile friction and purchase against slipping?
- Can any components get simplified or consolidated since virtual modeling often hides opportunity?
Record observations and measurements to quantify tolerances and mechanical performance.
The next vital step is to identify a pool of volunteers spanning your user segments to test the prototype. Develop a combination of task scenarios and open-ended feedback questions to capture both quantitative performance metrics and qualitative user perceptions.
This early feedback is invaluable for further optimizing the design through additional quick-turn 3D print iterations before investing in tooling.
8. Leverage Vacuum Casting and Market Research to Refine Prototypes
The 3D-printed concept model validates the overall design but lacks real-world testing value. This stage calls for a polished prototype mimicking the final product.
Vacuum casting creates enhanced prototypes by using your 3D model to form molds, then casting parts under vacuum conditions. The results resemble the finish of injection molded end products.
This facilitates in-depth evaluations of assembly, part fit, ergonomics, user experience, etc. But don’t stop there.
Conduct additional market research with your near-final prototype. Survey target consumers and conduct focus groups to assess:
- Perceived value and willingness to purchase
- Reactions to pricing models
- Feature priorities and preferences
- Competitive differentiation
Feed insights into further rounds of refinements and vacuum casting iterations. Strengthen market appeal by aligning with user priorities uncovered in research.
Initially 3D printed concept models validate the design, but lack refinement for legitimate user testing. The solution “Vacuum casting” creates professional-grade prototypes at a fraction of the cost of traditional tooling like steel molds.
Expect under $1,000 for the silicone mold. Plus each resin prototype costs roughly $50-100 depending on size and complexity. This allows startups to iteratively produce 50+ realistic prototypes for under $5,000 total. These accurately mimic the finish quality, ergonomics, and feel of the final injection molded products.
Such affordable batches facilitate thorough concept validation through focus groups, beta tests, and even small pilot sales. Refine based on user feedback before investing in full injection mold tooling at over $10,000.
Vacuum casting provides startups a quick and low-cost bridge between early prototypes and final injection molding manufacturing.
Use vacuum casting and market tests in tandem to de-risk product launch and manufacturing investments.
9. Finalize 3D Model for Injection Molds
After multiple vacuum casting cycles, you’ll have excellent data to adjust your 3D model one last time.
These subtle tweaks make a big difference in optimal mold design and end-product performance. It eliminates unpleasant surprises once mass production via injection molding begins.
Double check for appropriate draft angles, wall thickness, ventilation, consistency with material properties, etc. This is the final 3D model the fabrication shop will use to CNC cut the mold tooling.
10. Partner with an Injection Molding Company
You navigated conceptualization, prototyping, and 3D model refinement to produce an exceptional product ready for injection molded manufacturing.
The last step is finding a reputable injection molding company to transform your vision into thousands of flawless products. Discuss timelines, plastic materials suited for the application, part tooling, secondary operations, and quality assurance.
Bring your brilliant idea to eager customers by leveraging injection molding services! Just don’t forget about us little guys when you make it big!
So in summary, bringing an innovative product idea through manufacturing requires:
- Clearly conceptualizing the core problem, target users, and distinguishing features
- Prototyping iteratively via affordable 3D printing and more refined vacuum casting
- Perfecting the 3D model’s compatibility with the selected injection molding process
- Finding the right injection molding partner to expertly handle mass production
As a newcomer, remember:
- Seek guidance from engineers on suitable materials and manufacturability
- Be willing to modify and refine designs based on real-world testing data
- Patience is key – injection mold tooling costs tens of thousands – so prototypes must be thoroughly evaluated
The above best practices will serve any aspiring inventor in transforming visions into game-changing products enjoyed worldwide. Just imagine your creation sitting in homes globally!
